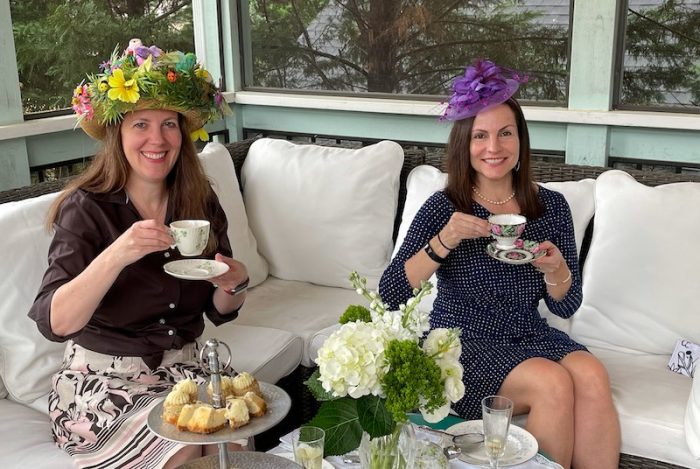
I recently hosted an afternoon tea al fresco, on my screened-in porch, and wanted to create a homemade favor for my guests. After all, they had agreed to be my test audience for a talk I am soon to give on afternoon tea etiquette. Because I love upcycling — giving new life to something that would otherwise be trash — I had fun digging through my fabric remnants and button jar to find most of the materials I needed for a four-pocket tea wallet. A quick stop at the craft store for a bit of interfacing and decorative elastic trim, and I was ready to begin.

Sewing Our Memories Into Gifts
It’s true, I’m a sentimental bird. This is another unexpected benefit of eco-friendly crafting: threading your past into your future. Choosing spare buttons that had come with dresses and suits from my high school days and first jobs, I thought how, back then, I had no idea I would one day have this beautiful group of vivacious, authentic and loving women as close friends. Using remnants from early homemaking projects 15 years ago, I felt the passage of time, and of my young mother years. How thankful I am now for the life that I was building then.

What You’ll Need to Make A Tea Wallet
You don’t need much to make this 4-pocket tea wallet with button closure, especially if you already sew. You’ll see I switched out the recommended hair elastic for decorative elastic trim to dress it up a bit. My step-by-step process follows in pictures, but first you may appreciate watching the whole project come together in this video by Sewing Time with Sarah (thank you, Sarah!).
- 4 Pieces of Fabric, sized 7 1/2″ x 5″ – Get creative with your color scheme, one piece is for the outside, one for the lining, and two for the two pockets
- 2 Pieces of Medium Weight Interfacing, sized 7″ x 4 1/2″
- 1 Piece Decorative Elastic Trim, 5″ long – This looks prettier than the hair elastic used in the demo
- 1 Button
- Needle
- Scissors
- Marker or Chalk Pencil
- Card Stock or Manila Folder
- Sewing Machine
- Pins or Fabric Clips
- Spool of Thread — Choose a complementary color
- Iron
Step-by-Step Pictured Instructions: How to Make A Tea Wallet

Gather your fabrics and button. 
Create a template and trace onto fabric (I made mine from a manila folder). 
Cut out 4 pieces of fabric, each 7 1/2″ x 5″. 
Gather your interfacing and trim. 
For each wallet, cut out two interfacing pieces,
sized 7″ x 4 1/2″.
Iron the interfacing’s shiny side to the wrong side of the outer and inner fabrics. 
Put aside outer fabric and get ready to work
with the inner fabric first.
Fold the 2 pocket pieces in half lengthwise. 
Iron the pocket fabrics to create
a firm crease on the fold.
Sew a border across the ironed crease of both pocket fabrics, 1/4″ from the edge. 
Set the first pocket on the inner fabric, 1″ up from the bottom edge, and sew its bottom edge,
leaving 1/4″ seam.
Sew the second pocket with a 1/4″ seam along the bottom edge of the inner fabric. 
Fold the piece in half and crease with your fingers to find the middle, then sew along the middle divide from top to bottom of the two pockets. 
Fold in half one 5″ piece of elastic trim, leaving 1/2″ hanging over the right edge of the piece, then sew in place right above the second pocket. 
Match together the right sides of
the inner and outer pieces.
Pin or clip the inner and outer pieces together. 
Sew the inner and outer pieces together, leaving a 3″ opening at the bottom. Cut the pointy tips off each corner and the excess elastic trim. 
Turn the wallet right side out by pushing it through the hole you left open at bottom. 
Use a chopstick to push the corners fully out and iron the entire piece flat,
then fold in half and iron the crease.
Sew a 1/8″ seam around the entire piece. 
Being careful not to snag the pocket fabric, sew a button about 1″ from the edge,
behind the top pocket on the side opposite your trim loop.
Patience Rewarded: Time to Fill Your Tea Wallet

Creating 8 tea wallets for my guests took me about 6 hours, during which I was reminded that it pays to take the time to be precise in your measurements and exercise plenty of patience when you sew! Of course, the best part is snipping off the last hanging thread, and getting busy stuffing your tea wallet with surprises that will delight your tea friends. I chose a variety of individually packaged tea bags, a laminated tea brewing guide from Tea Hippie, and single use packets of sugar or honey. What would you carry in your tea wallet?


